Removal

• Integrated Drive Axle (IDA) requires special grease, so do not add any other type of grease.
• When replacing the boot band, it must be a new one.
1.Remove the IDA.(Refer to Rear Driveshaf & Axle Assembly - "Integrated Drive Axle (IDA)")
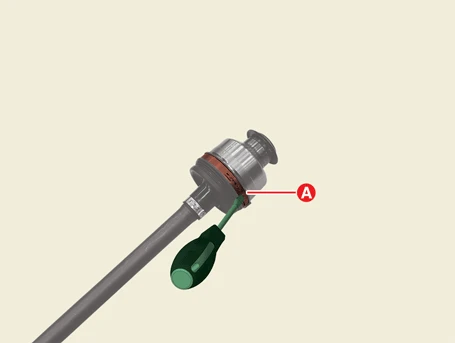
2.Remove the reduction gear side large diameter boot band (A) using a flat-head screw driver.

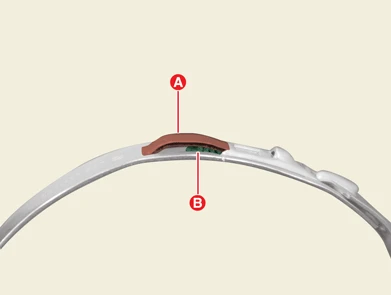
3.Remove the reduction gear side small diameter boot band (A) using a flat-head screw driver.
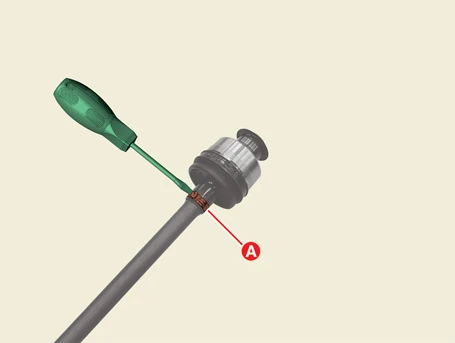
4.Remove the boot (A) from the reduction gear side housing.
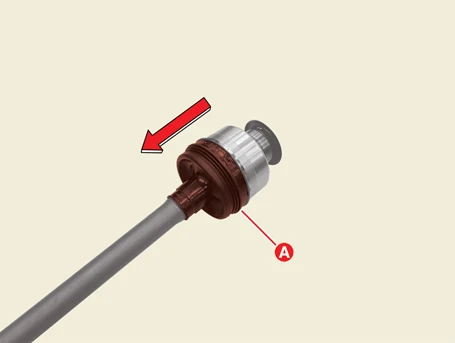
5.Extend the snap ring (A) from side to side using a snap ring plier.
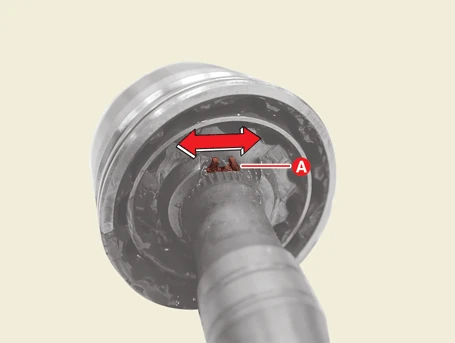

6.Remove the reduction gear side housing (A) while the snap ring is extended.
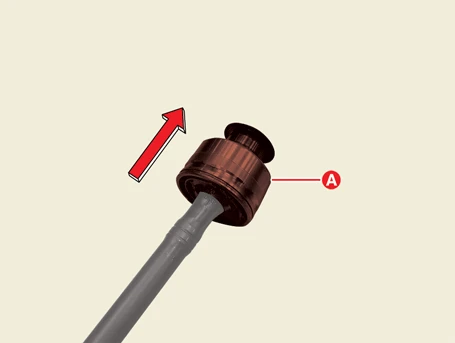

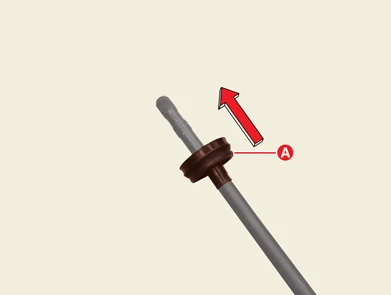
7.Remove reduction gear side boot (A).
Special Service Tool
| Tool Name / Number | Illustration | Description |
|
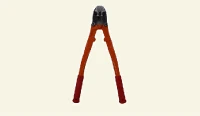
Band installer 0K495 - C5000 |
|
Used for installing ear type boot band(Sharing handle with 0K495 - 2W000) |
Installation

• When assembling, be careful not to let dust and foreign substances enter.
• Integrated Drive Axle (IDA) requires special grease, so do not add any other type of grease.
• Do not reuse the boot band.
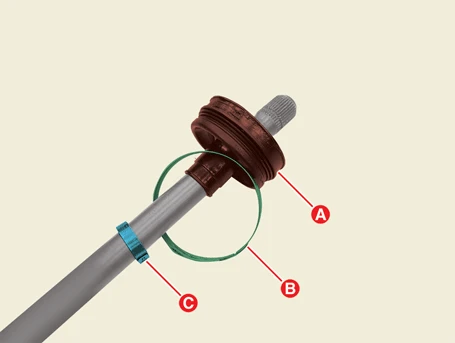
1.Install the boot (A), large diameter band (B), small diameter boot band (C).

2.Apply grease inside the housing (A) and boot (B).
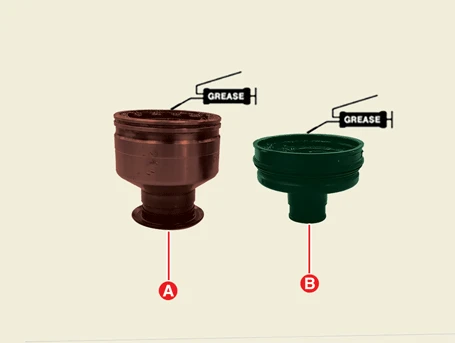

• Use the only grease included in the joint kit/boot kit.
• Use only half of the grease (150g) provided.
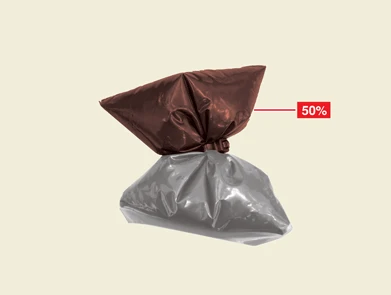
• Apply grease about 80% inside the housing and about 20% inside the boot when replacing the whole part.
• Apply grease about 20% inside the boot when replacing the boot.
• Apply grease about 30% inside the housing and 20% inside the boot If there is not enough grease inside the housing.
• Integrated Drive Axle (IDA) requires special grease, so do not add any other type of grease.
3.Install the reduction gear side housing (A).
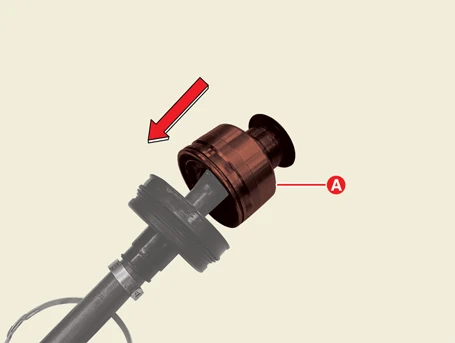

• When installing the hub bearing, make sure the spline (A) fits into the hub bearing correctly.
• Make sure that the snap ring fits into the groove (B) securely.
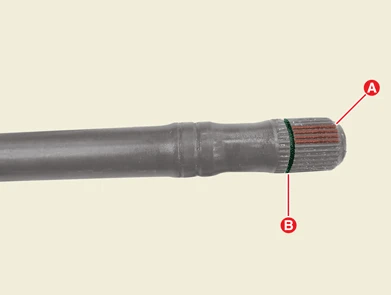
• Do not reuse the snap ring.
• After installation, move by hand to check that the reduction gear side housing is securely installed.
4.Install the boot (A) to the reduction gear side housing.
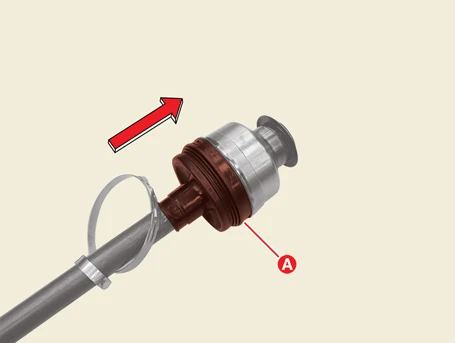

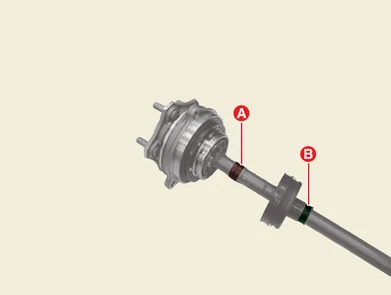
5.Install the reduction gear side large diameter boot band.
(1)Install the large diameter band (A) temporarily.
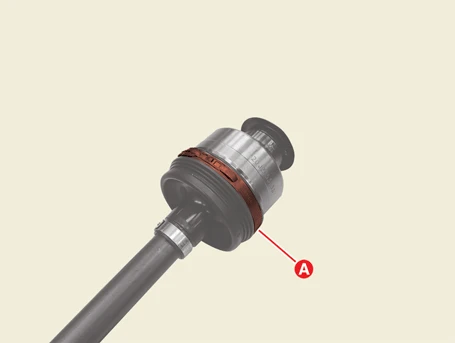
(2)Using a tool such as a plier, tighten the (A) of the large diameter band to install it.
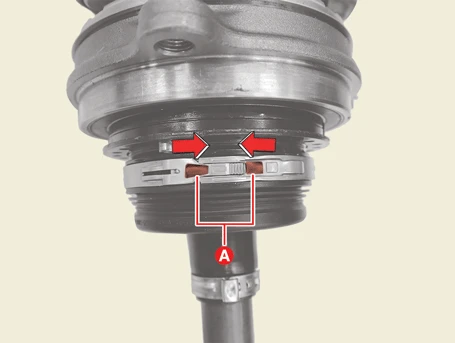

• Install in order of large diameter band → small diameter band to prevent leakage.
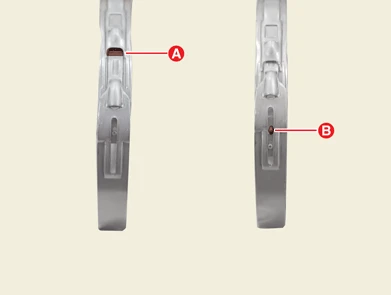
• Make sure that the teeth (A) covered and the retainer cup (B) exposed after installing.If the teeth are exposed and the retainer cup is not exposed after installing, the boot band may be dislodged and grease may leak. Reinstall the boot band.
6.Install the wheel side small diameter boot band (A) using the SST (0K495 - C5000).
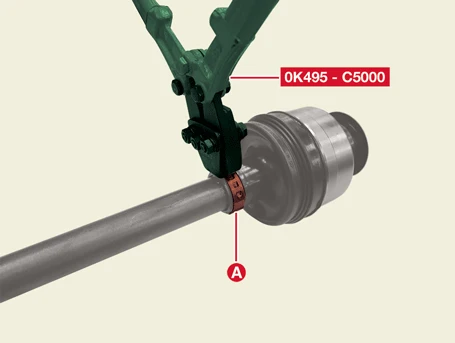

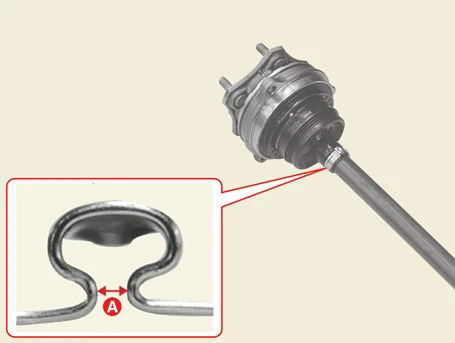
• Install in order of large diameter band → small diameter band to prevent leakage.
• Check the gap (A) after installing.
Ear type boot band gap (A) : 2.0 mm (0.0787 in.) or less
7.Install the Integrated Drive Axle (IDA).(Refer to Rear Driveshaf & Axle Assembly - "Integrated Drive Axle (IDA)")
Inspection
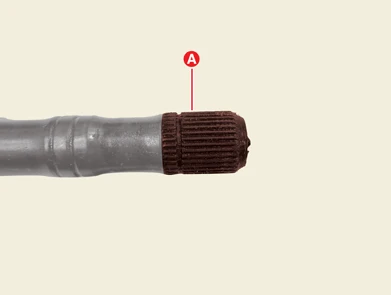
1.Check spline (A) for damage, wear and tear.
2.Check the boot for water or foreign objects.
3.Check joint assembly for damage, wear and tear.
4.Check hub bearing for damage, wear and tear.
