Removal

• When working on the high voltage system, the work should be performed by technicians who have completed the relevant training. A lack of understanding of the high voltage system can lead to serious accidents due to electric shock or short circuit.
• When working on the high voltage system or related components, be sure to observe and be aware of the "Safety Precautions, Cautions and Warnings". If not, it may cause serious accidents due to electric shock or short circuit.
• When working on high voltage system, make sure to check the Personal Protective Equipment (PPE) and high voltage shut-off procedure.
Outside Rear Combination Lamp
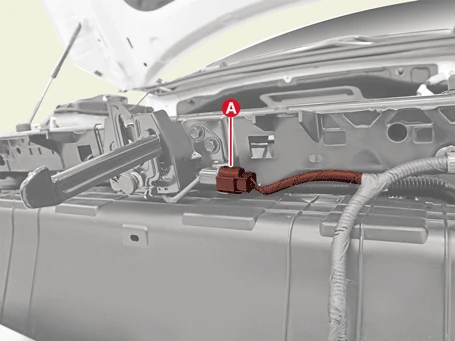
1.Disconnect the battery negative ( - ) terminal and the service interlock connector.(Refer to Battery Control System - "Auxiliary 12 V Battery - 2WD")(Refer to Battery Control System - "Auxiliary 12 V Battery - 4WD")
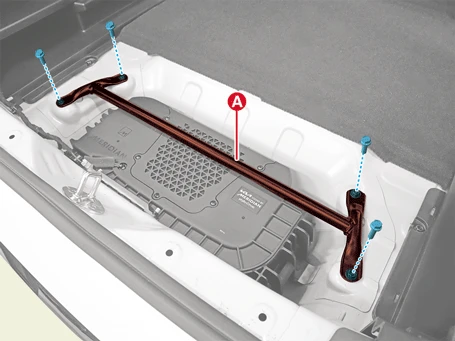
2.Remove the luggage side trim service cover (A).
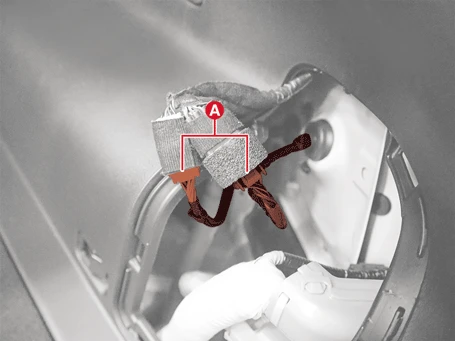
3.Disconnect the outside rear combination lamp connectors (A).
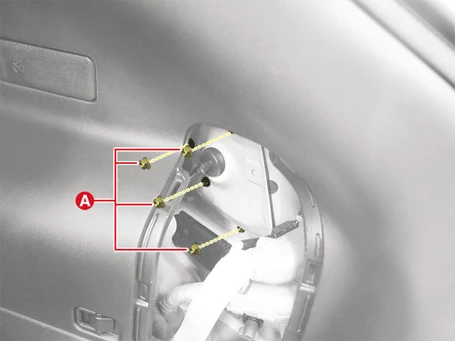
4.Remove the outside rear combination lamp nuts (A).
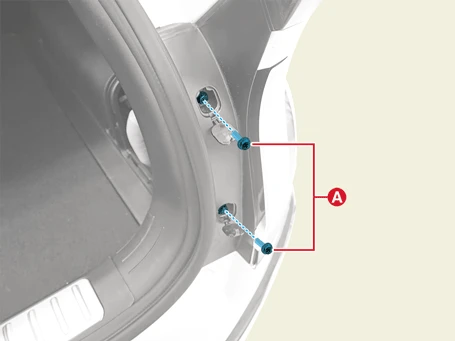
5.Remove the outside rear combination lamp screw caps (A).
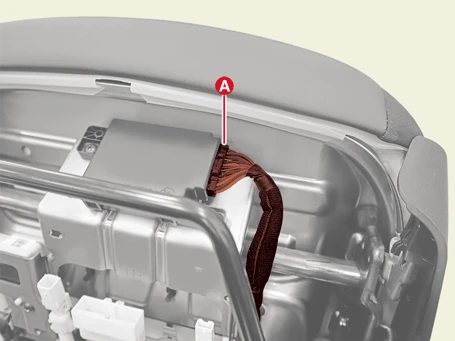
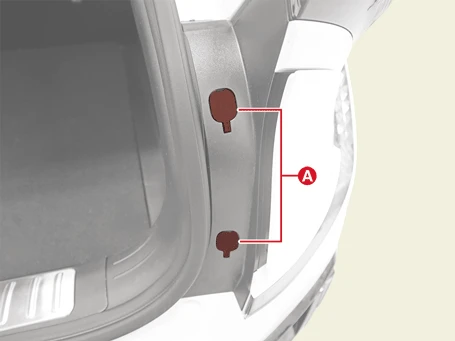
6.Remove the outside rear combination lamp screws (A).
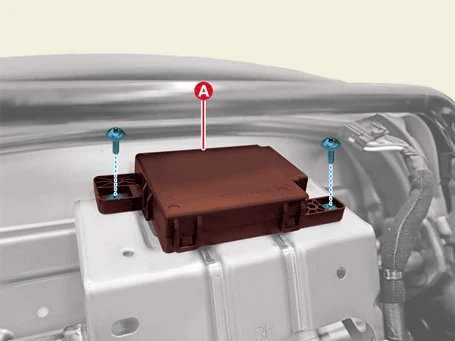
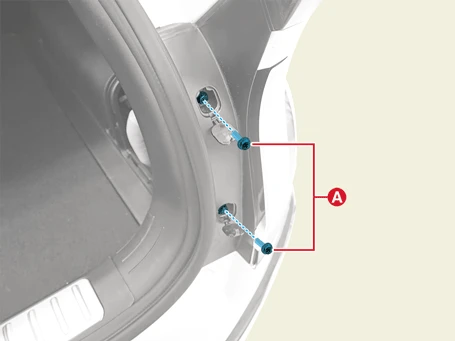
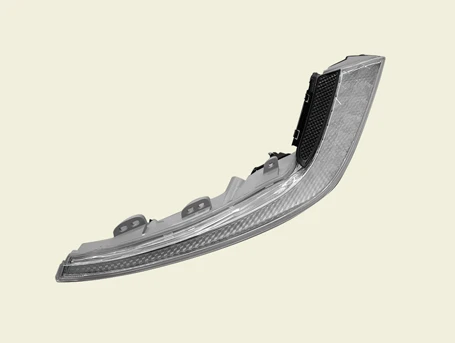
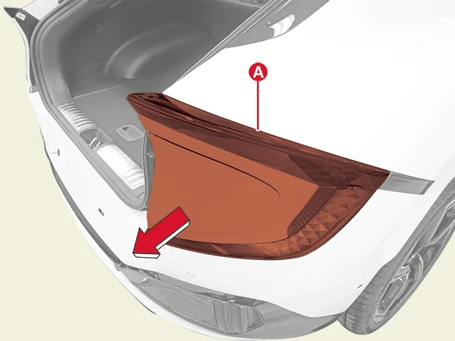
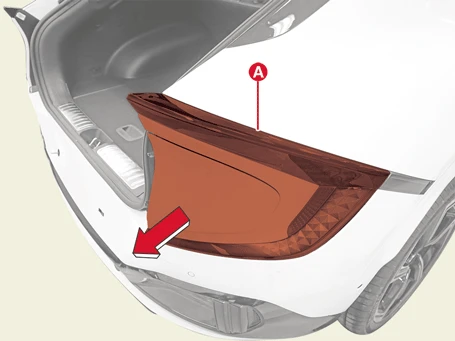
7.Remove the outside rear combination lamp (A) in the direction of the arrow.
Center Rear Combination Lamp
1.Disconnect the battery negative ( - ) terminal and the service interlock connector.(Refer to Battery Control System - "Auxiliary 12 V Battery - 2WD")(Refer to Battery Control System - "Auxiliary 12 V Battery - 4WD")
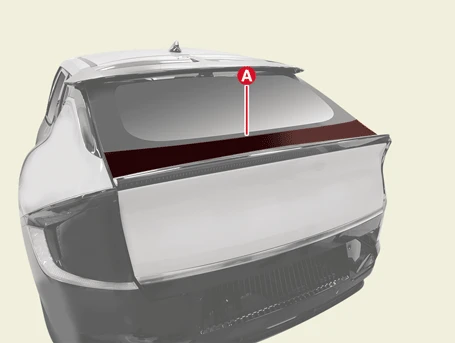
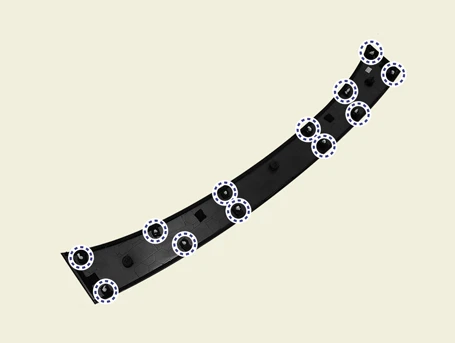
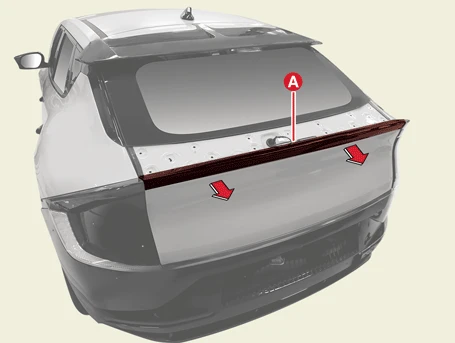
2.Remove the tailgate garnish (A).


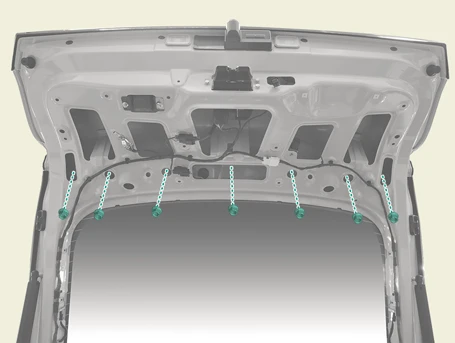
3.Remove the tailgate lid trim.(Refer to Body - " Tailgate Lid Trim")
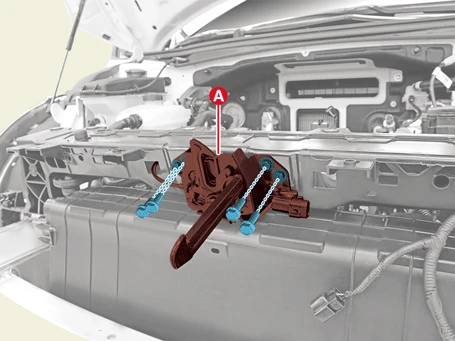
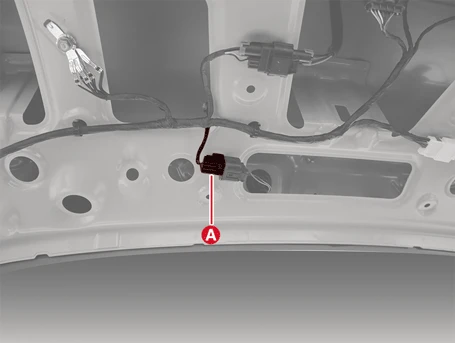
4.Disconnect the center rear combination lamp connector (A).
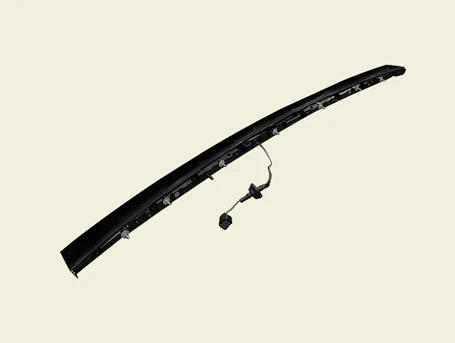
5.Remove the center rear combination lamp (A) after removing the nuts.
Installation

• When working on the high voltage system, the work should be performed by technicians who have completed the relevant training. A lack of understanding of the high voltage system can lead to serious accidents due to electric shock or short circuit.
• When working on the high voltage system or related components, be sure to observe and be aware of the "Safety Precautions, Cautions and Warnings". If not, it may cause serious accidents due to electric shock or short circuit.
• When working on high voltage system, make sure to check the Personal Protective Equipment (PPE) and high voltage shut-off procedure.
1.Install in the reverse order of removal.
2.After replacing the charge door assembly and the related parts, check that it charges normally.
Disassembly

• When working on the high voltage system, the work should be performed by technicians who have completed the relevant training. A lack of understanding of the high voltage system can lead to serious accidents due to electric shock or short circuit.
• When working on the high voltage system or related components, be sure to observe and be aware of the "Safety Precautions, Cautions and Warnings". If not, it may cause serious accidents due to electric shock or short circuit.
• When working on high voltage system, make sure to check the Personal Protective Equipment (PPE) and high voltage shut-off procedure.
Outside Rear Combination lamp
[LH]
1.Remove the outside rear combination lamp [LH].(Refer to Lighting System - " Rear Combination lamp")
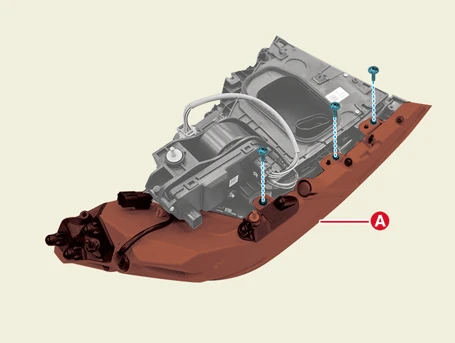
2.Remove the stop lamp & tail lamp (A) after removing the screws.
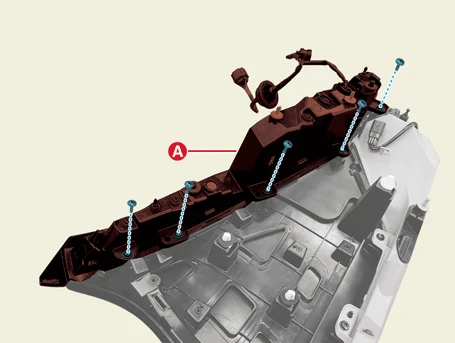
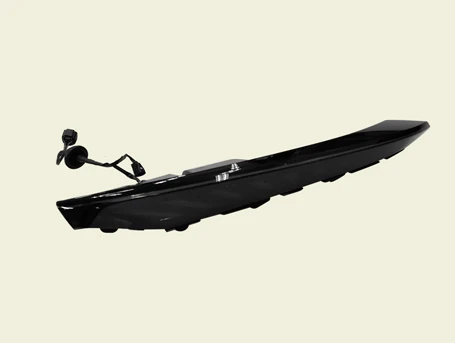
3.Remove the turn signal lamp (A) after removing the screws.
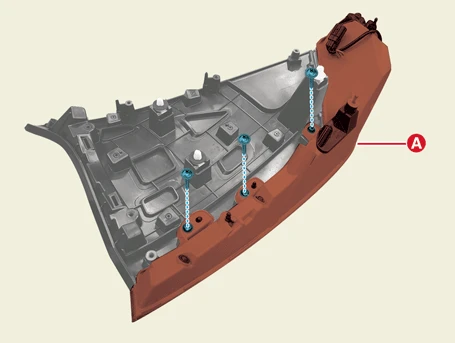
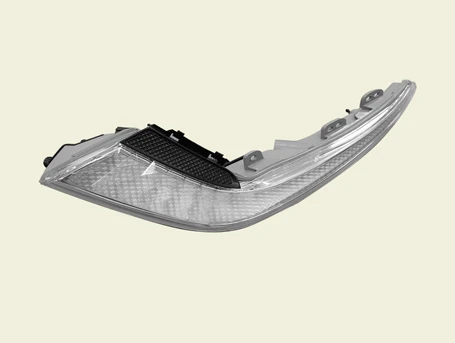
[RH]
1.Remove the outside rear combination lamp [RH].(Refer to Lighting System - " Rear Combination lamp")
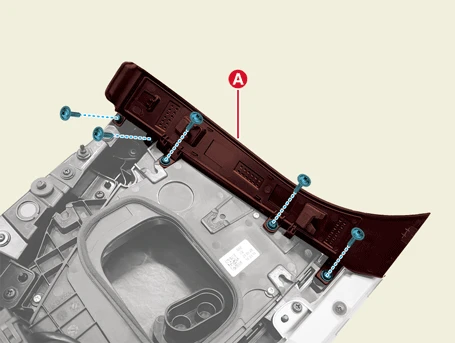
2.Remove the flange cover (A) after removing the screws.
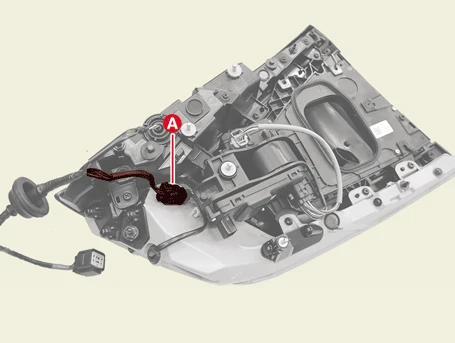
3.Disconnect the charge door control unit connector (A).
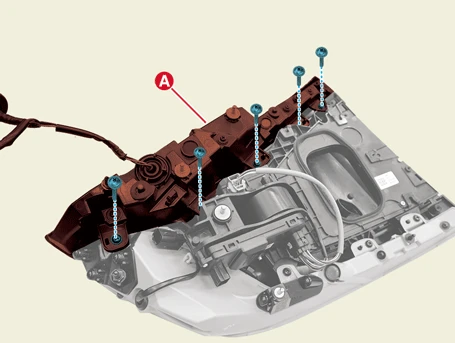
4.Remove the stop lamp & tail lamp (A) after removing the screws.
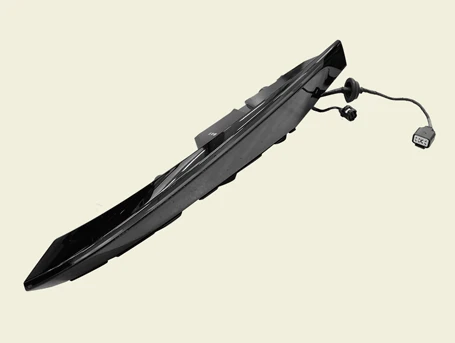
5.Remove the turn signal lamp (A) after removing the screws.
